Let me guide you on how to Install macOS Ventura on PC- Hackintosh. The new macOS Ventura has amazing cool new features such as the stage manager, new settings design, spotlight improvements, and more. If you are itching to test the new MacOS 13 on your PC Hackintosh or laptop then certainly you should try it right now.
Prerequisites:
- A working MacOS operating system where you can create the bootable USB.
- A USB flash drive with 16GB of storage.
- MacOS Ventura installer.
- Commands to create a bootable USB of MacOS Ventura.
- OpenCore Configurator.
- EFI according to your Hardware. You need to watch to below and Learn How to Create EFI partitions.
Steps to Install macOS Ventura on PC
Note: A Hackintosh is a computer where you are building the hardware separately in order to install MacOS on it. This includes every hardware part, now based on the hardware that you have selected you to need to configure the EFI, and then configure it through the open Configurator.
Every user thinks that installing MacOS Ventura on a PC is simple, the reality is not like that. Installing macOS is another case but configuring the post-installation entirely is another case. Suppose whenever you are installing Windows, a boot loader is by default going to install it on the kernel, so next time when you boot the computer, it will select that.
Installing a mac inside any computer is not hard but configuring the kernel, and the other Kexts are really important. That’s why hardware comes into the place.
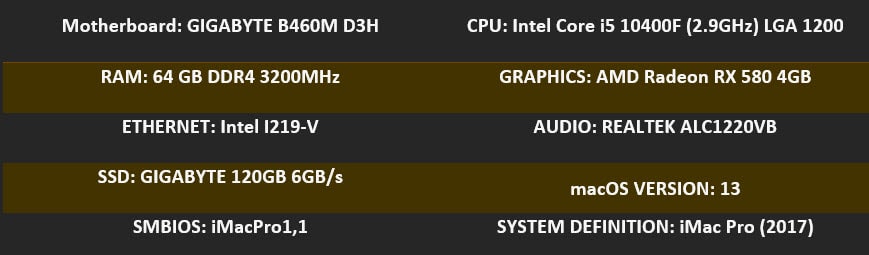
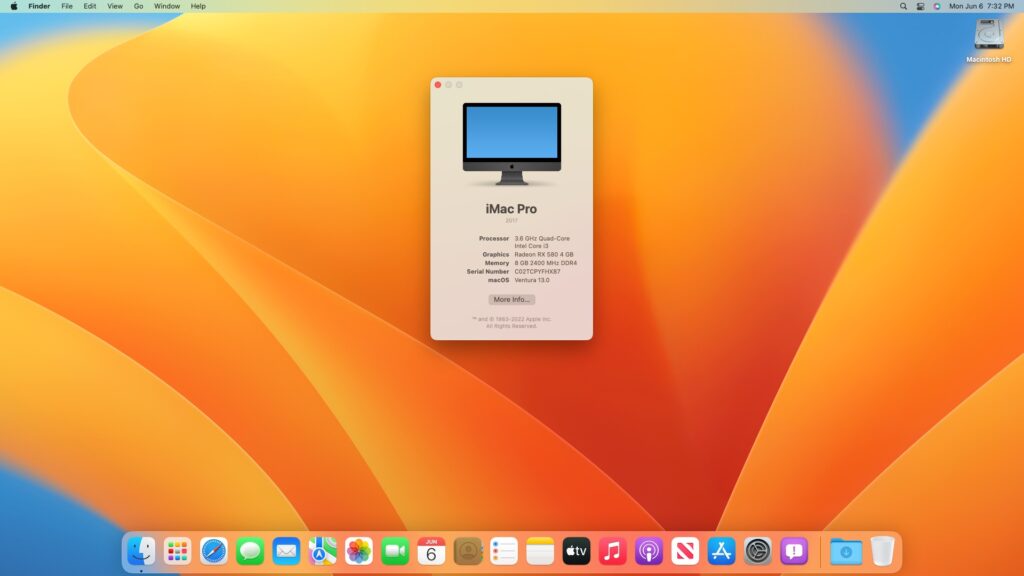
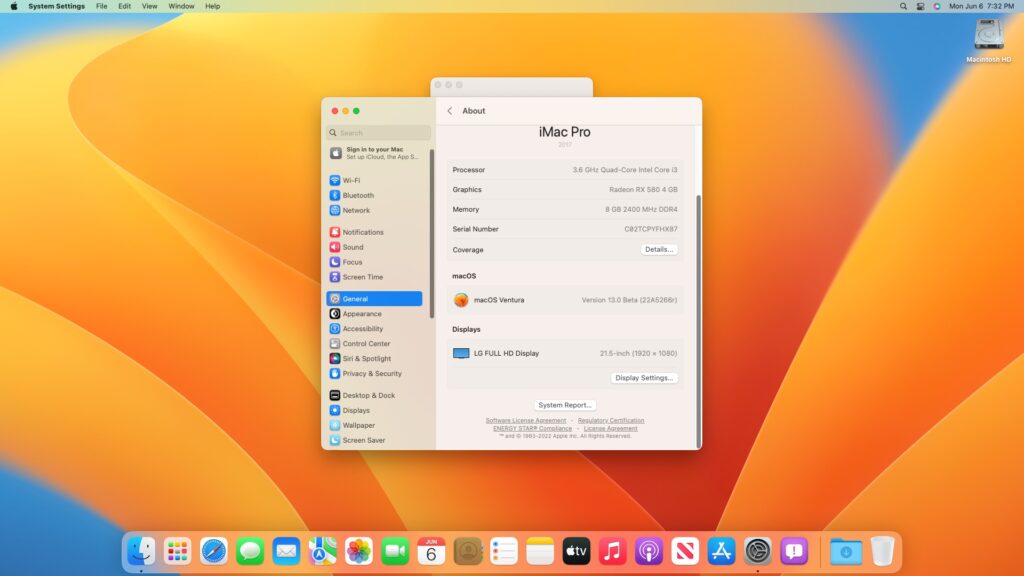
MacOS Ventura has been installed on the system with the below details.
Step 1. Create macOS Ventaru USB Installer
The first step to begin the process of Installing macOS Ventaru on PC- Hackintosh, is the creation of a Bootable USB Installer for macOS Ventura. You have to attach the USB to the computer, using the Disk Utility, and erase it. Following the above steps, launch Terminal> enter the command to create a macOS Ventaru Bootable Installer.
For Detail guidance on How to Create a macOS Ventura USB Installer, read the below post.
- Learn How you can create a macOS Installer using Terminal
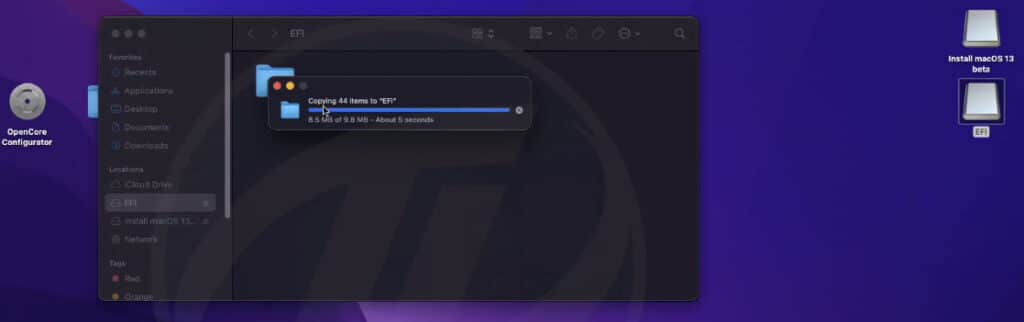
Step 2. Configure EFI Partitions
Mount the EFI Partition of the USB using the OpenCore configurator.
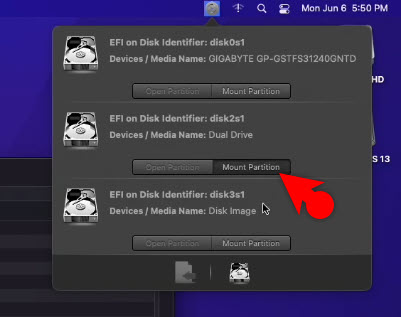
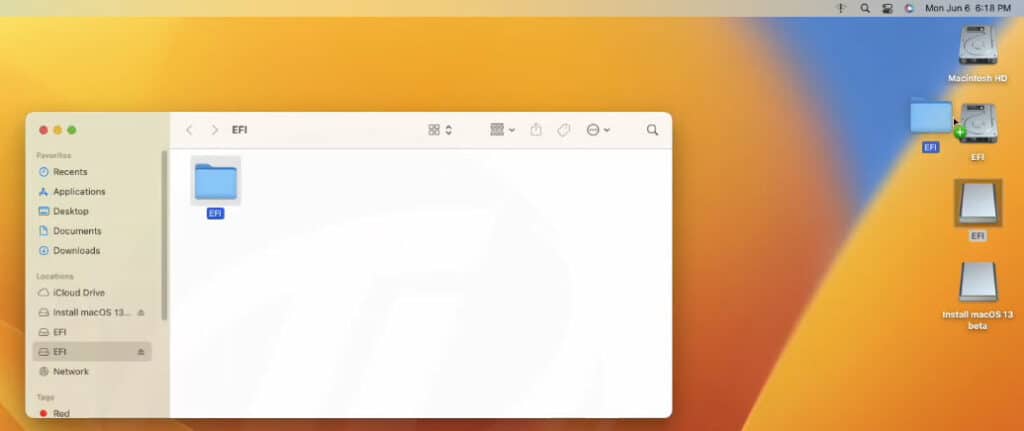
You need to copy the downloaded EFI partition into the mounted USB EFI partition.
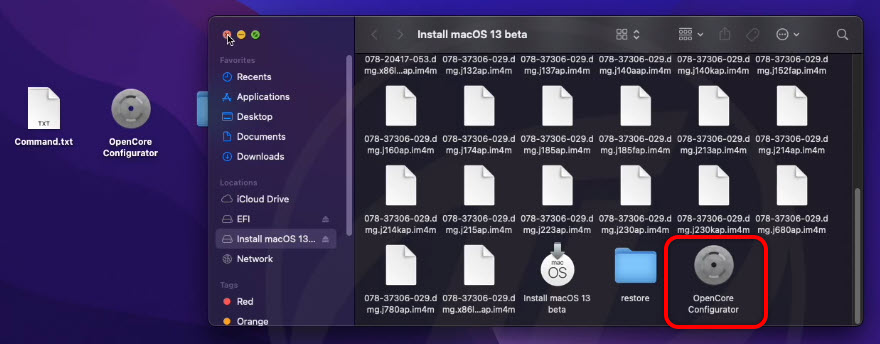
Next Copy the OpenCore Configurator and paste it into the USB Flash drive.
Then Eject the USB Flash drive and boot into the BIOS.
Step 3. Configure BIOS Settings
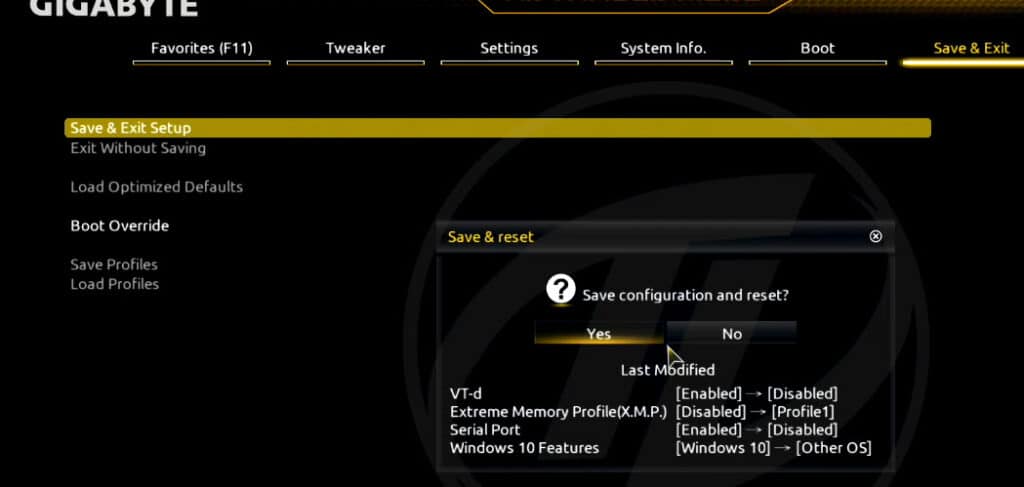
In order to apply your own custom settings to the BIOS to boot the MacOS Ventura, first, you have to reset it to the default BIOS settings.
Once the BIOS is saved to the default settings, your PC will restart and this time again you have to press the BIOS key of your computer and boot into BIOS once again, And configure the below settings.
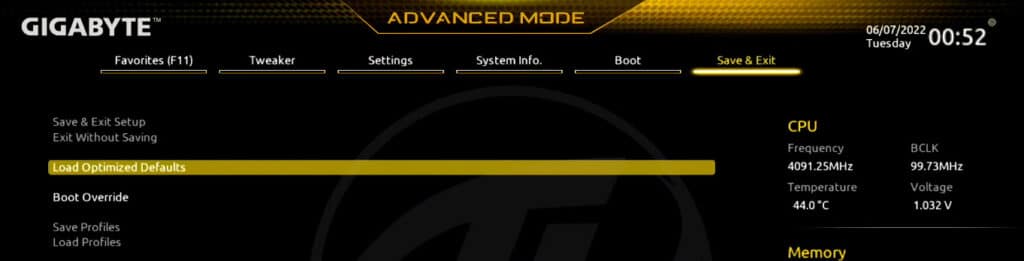
- Disable the Secure Boot, VT-D, Serial Ports, Parallel Port, PXE Boot, and Fast Boot.
- Boot Mode must be UEFI.
- Choose Profile 1 on the Extreme Memory Profile (X.M.P) [If Available]
- Enable the XHCI Hand-off.
After applying your own settings several changes to the BIOS and restart a computer.
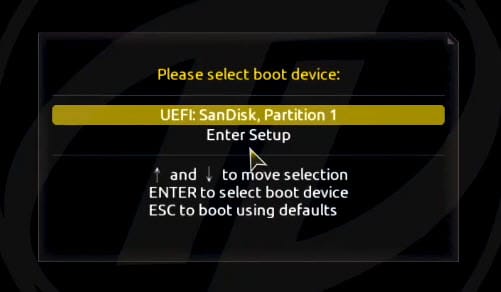
Step 4. Install macOS Ventaru on PC
After configuring the settings on the BIOS, you must restart your computer and boot into the USB flash drive, for this, you have to press the boot key of your computer.
Choose Install macOS 13 Beta.
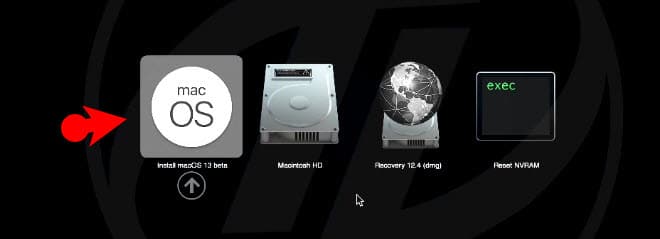
After that, you have to wait until the macOS 13 boots up.
- Choose Your Preferred Language.
- Click on Disk Utility.
- Click on the View and check the Show all devices.
- Select your main drive and erase it with these settings (Provide a Name for the drive, Format must be APFS and GUID Partition Map for the scheme).
- Close Disk Utility.
- Click on Install macOS 13 Ventaru> continue, agree with the terms.
- Select the drive you erased earlier and click continue. Please keep in mind that this part is going to take at least 30 to 40 minutes and aside from that once it is done you will be on the basic configuration or the macOS Ventura.
Basic macOS Ventura Settings.
- Choose your preferred language, location, written, and spoken.
- Agree to the Terms and conditions.
- log in with your Apple ID or create a local account.
- Configure Siri, Screen Time, Migration, and more.
Step 5. Configure Bootloader
We have to configure the MacOS in a way that it should boot into the Mac OS 13 automatically without using the USB flash drive. Open the USB flash drive and then open the OpenCore Configurator.
After launching the OpenCore Configurator you have to mount the EFI of the USB and your computer’s drive.
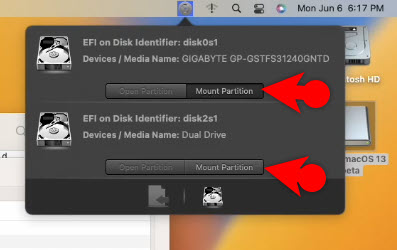
Open the USB EFI partition and copy it into your hard drive EFI partition.
Restart your Mac and eject the USB flash drive, and Now enjoy using macOS Ventura.
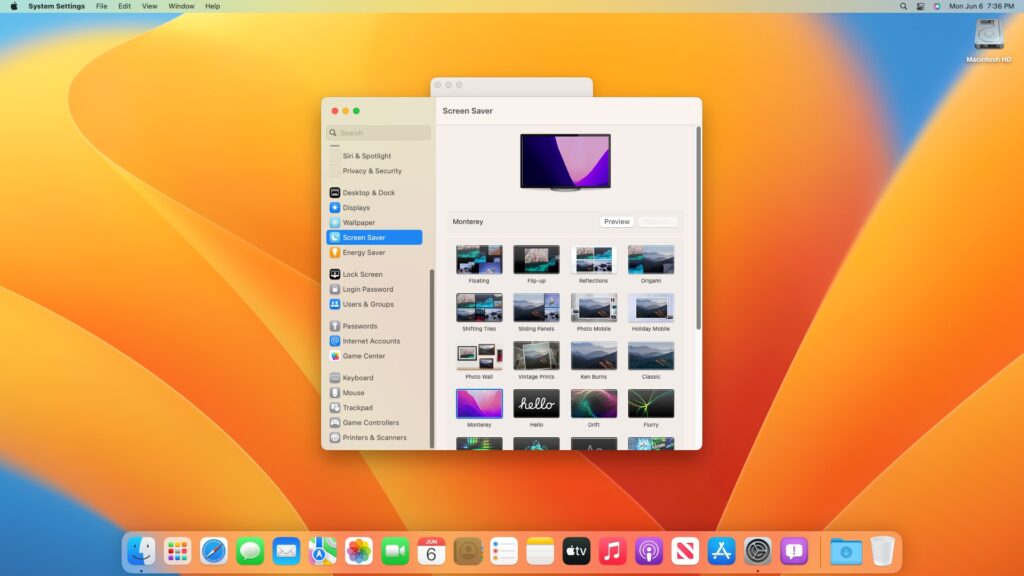
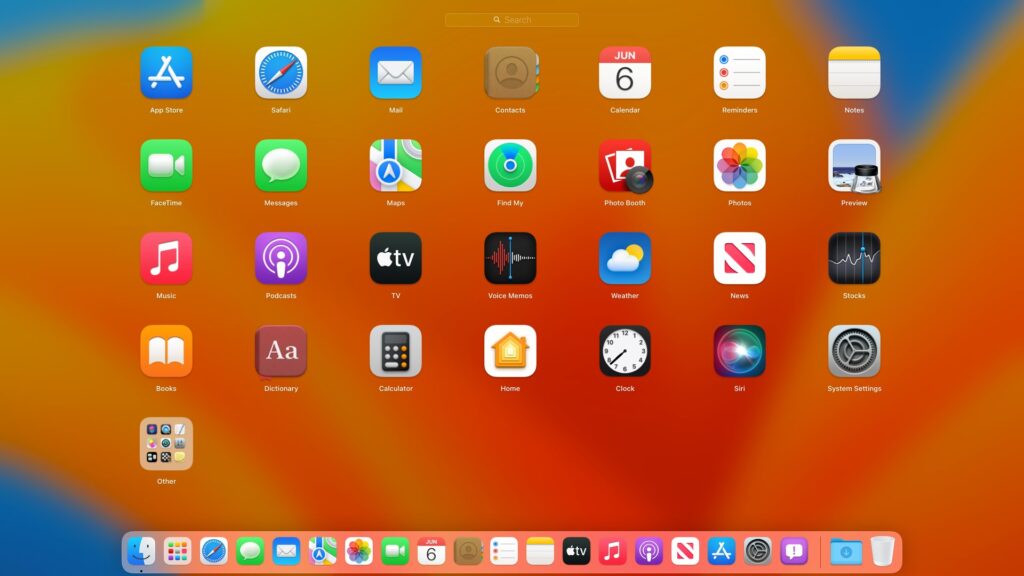
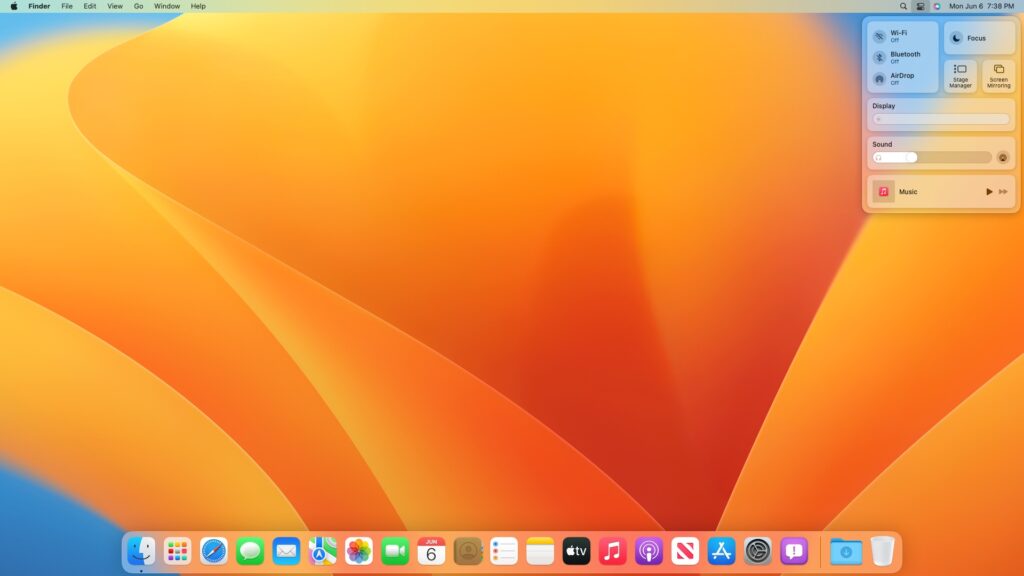
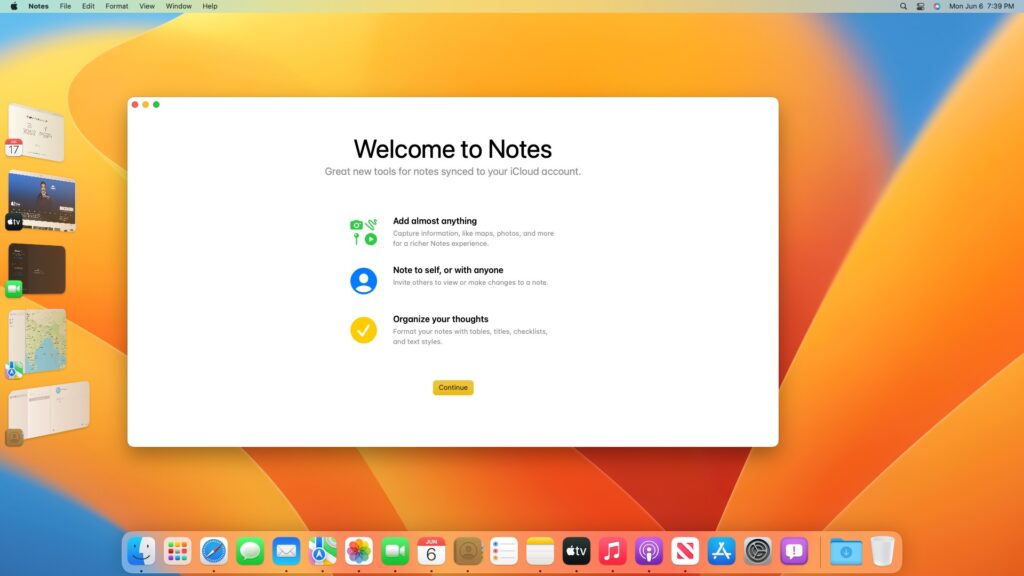
Here are Some Pics from around the macOS Ventura.

Also Read:
- How to Install macOS Ventura on VirtualBox on Windows PC?
- How to Install macOS Ventura on VMWare on Windows PC?
- Install macOS Ventura on MacBook Pro, Macbook Air, iMac and Mac Pro
- How to Install macOS Monterey on PC- Hackintosh?