XAMPP is developed to allow developers and programmers to test their work on their PCs without having to access the Internet. Even with minimal information about installing software such as MySQL, PHP, Apache Easily install, configure, and integrate them automatically without any hassle. In fact, XAMPP can run php code on the local system known as localhost to localize your PC so they can test their work before uploading and testing it on the host. And that makes XAMPP one of the most used software for PHP programmers.
Xampp Features:
- Set up and Launch a local web server on your PC.
- Install and configure MySQL, PHP, Apache, FileZilla, Mercury, Tomcat and more.
- Execute Php codes.
- Install and test CMS Platforms.
- Xampp is an Open Source software.
- Xampp is a cross Platform (Windows, mac and Linux) software.
- Xampp Contains applications like Apache, MySQL, PHP + PEAR, Perl, mod_php, mod_perl, mod_ssl, OpenSSL, phpMyAdmin, Webalizer, Mercury Mail Transport System for Win32 and NetWare Systems v3.32, Ming, FileZilla FTP Server, mcrypt, eAccelerator, SQLite, and WEB-DAV + mod_auth_mysql.
Steps to Install Xampp on Linux Mint
Step 1. Download Xampp for Linux
Visit the official website of Xampp and download the latest version of Xampp for Linux.
Step 2. Allow the Xampp as an executable File
Well, the Linux distribution won’t allow xampp to be install an executable file. You have to make it an executable file in order to install it. To Make it an executable file, right click on the setup of the xampp> properties. Move to the permissions panel, and check the Allow executable file as program.
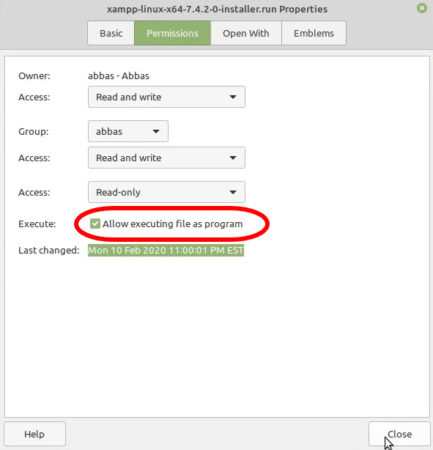
Step 3. Install the Xampp Server
Double click on the Xampp setup or right click and choose open then start the installation.
You may face the below error while installing Xampp.
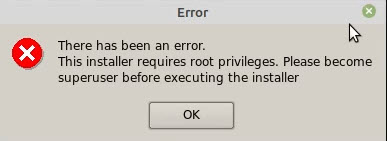
Basically, this error says that the installer requires the root privileges to Install the software. In simple words, you have to enable install the software as super user.
To fix the error, right-click on your Desktop and choose open as a root.

Authenticate with the your computer by entering your log in password.

Now Right-click on the Xampp Setup and start the installation of the Xampp Server.
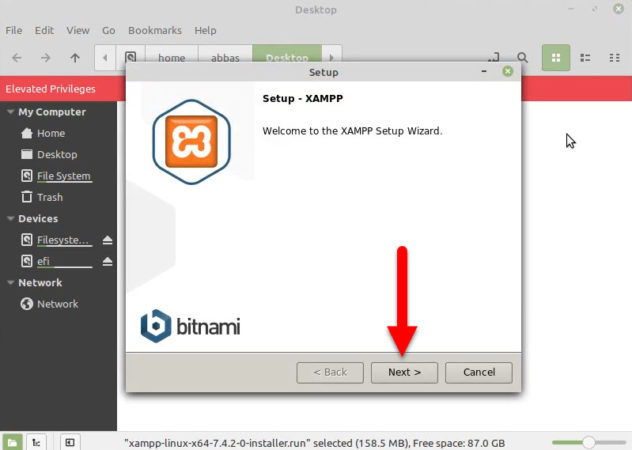
On the Welcome screen click next.
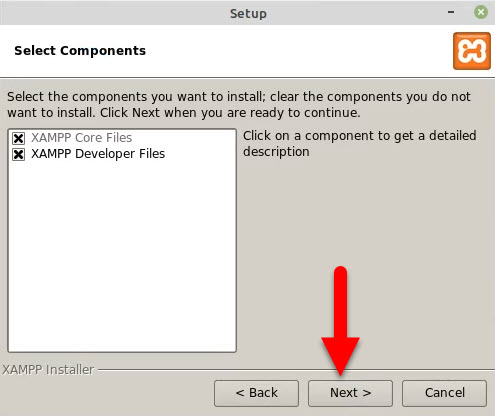
Here is the place where you have to choose the Xampp components and click next.
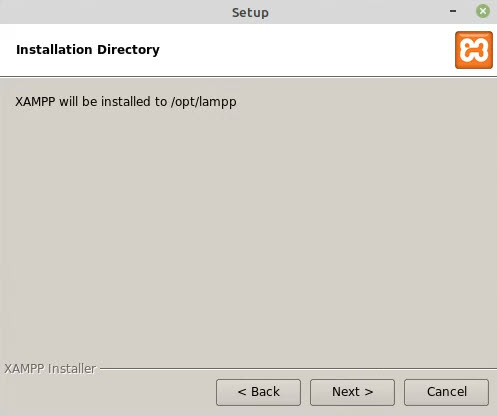
Xampp will install itself on the opt/lammp directory, if you want, you can change it easily.
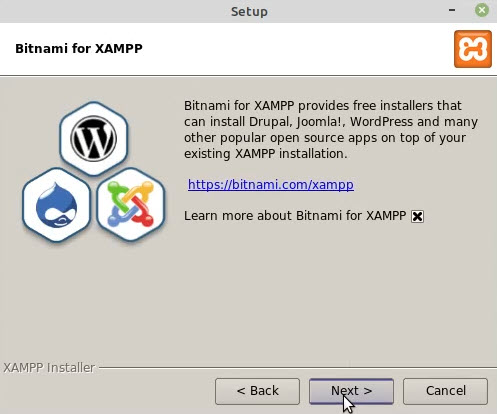
Now, Xampp provides some information about the Bitname and about it’s usage for xampp. Click next and move to the next.
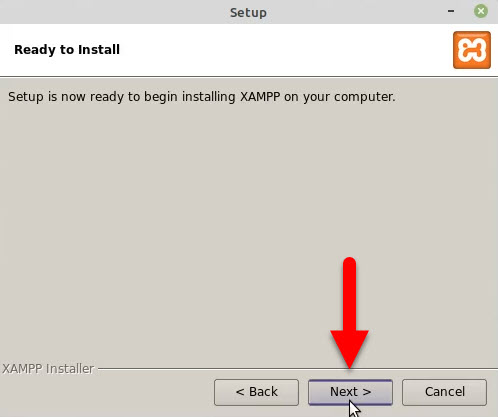
Now you are ready to install the Xampp on your computer.
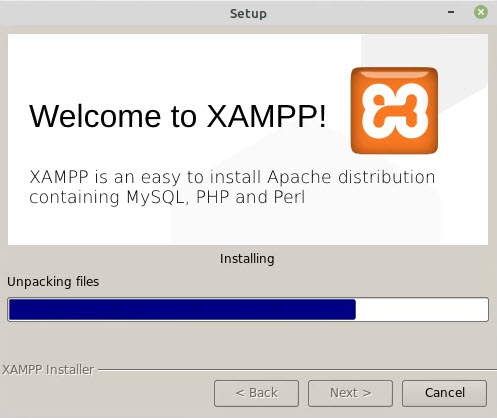
Wait until the installation should be complete.
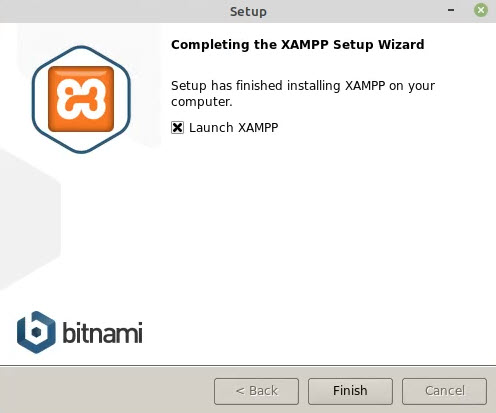
And now finally Xampp is installed on your computer.
Step 4. Launch the Servers
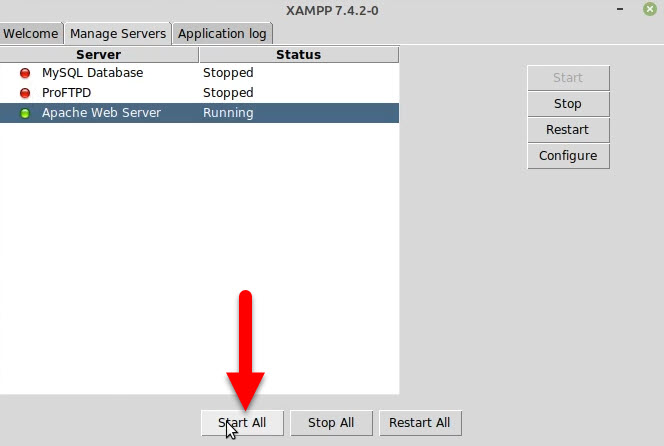
After the installation is done, you have to start the server for local testing. To do that, click finish and the Xampp server will launch. Once the Xampp Control Panel is launched> go to the Manage Servers panel and choose Start All.
Step 5. Access Localhost
To access localhost, open your favorite browser and search their for localhost/dashboard. Once it is opened, you are on your own to do whatever you want. Access the Php, Phpmyadmin and more.

Step 6. Open Xampp Control panel using Terminal
For the first time, the Xampp Control Panel was launched using the installation software. But once it is closed you won’t find the Xampp Control Panel, that’s where terminal comes in the place.
To start the Xampp Server using the Terminal, type the below command in the Terminal.
sudo /opt/lampp/xampp startTo stop the xampp Servers, type the below commands in the Terminal.
sudo /opt/lampp/xampp stopTo open the Xampp Control Panel, type the below commands.
cd /opt/lamppsudo ./manager-linux-x64.runor
sudo ./manager-linux.runConclusion
That’s all with How to Install Xmapp on Linux Mint 19.3. You may have to check the following posts related to Linux.


I am searching on google how to install xampp and I find your post. And after reading your content, hopefully, now we can install xampp. Thank you!
I am glad for you.