This step by step article covers how to install Android 13 on windows 11 PC using the Android studio; if you are looking for it continue reading.
Android 12 is a masterpiece and unfortunately it is only available in the handful Android devices on the market. However we are expecting Android 13 sooner than ever, because Google has released 2 previews of the Android 13 to the developers. And you can test it inside the Android studio or using any Android devices that is compatible to run Android 12 and Android 11. Just make sure that you have enabled the developer mode inside your device.
Android 13 Features
Data: 4th April 2022
So far the updates that I know regarding the Android 13 or Android tiramisu are listed below.
- Google has changed the name of the Android 13 to Android tiramisu, you can call it codename.
- Until now Google has released only two previews to the developers.
- That design is a lot more customizable compared to the previous Androids, it is like color palette controls with a lot more intuitive animations.
- QR scanner support, LC3 known as Low Complexity Communications, Bluetooth LE Audio are added.
- Priority mode has replaced do not disturb.
- Silent mode disables everything even vibrating.
- A smarter way to transfer media.
- Audio output selector
- Panlingual support has been added, it means you can set a specific language for a specific application.
- NFC Payment service is now available.
- Big updates to security and privacy
- A feature called private photo picker has now added to the gallery.
- Nearby Wi-Fi devices does not require location services to be enabled anymore.
- Changes has been brought to the notification permissions.
- Fast pair is a very amazing feature which can be used to pair your phone with other devices easily and fast.
Easily Install Android 13 on Windows
Step #1. Get Android Studio
Android studio comes for different operating system which includes macOS, Linux or Windows. So the goal is simple; visit Android studio’s official website and download Android studio depending on the OS on your computer.
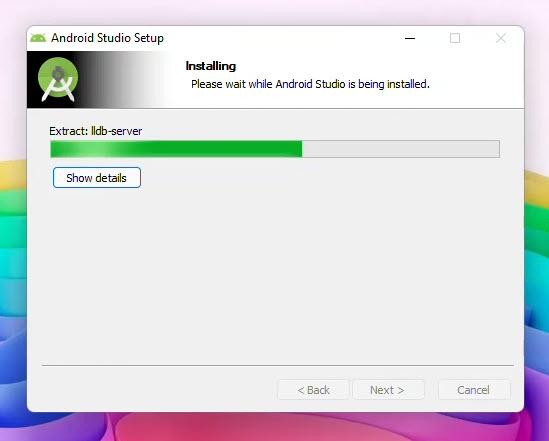
Step #2. Install Android Studio
Obviously the next step is to install Android studio in our computer, double click on the installer and follow what the screen says.
Step #3. Configure Android Studio basic settings
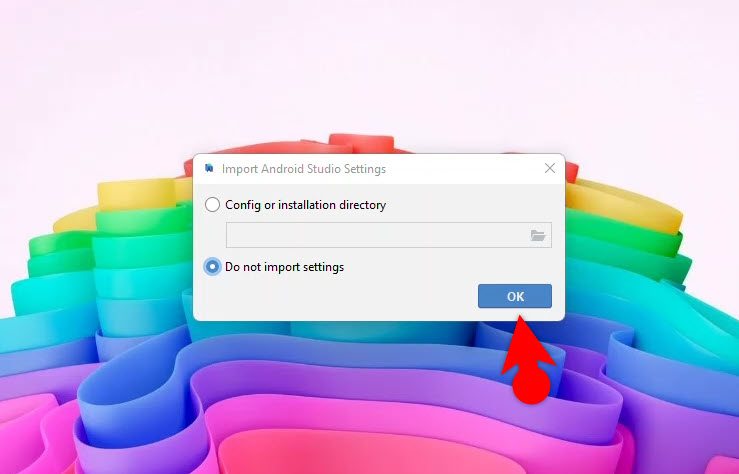
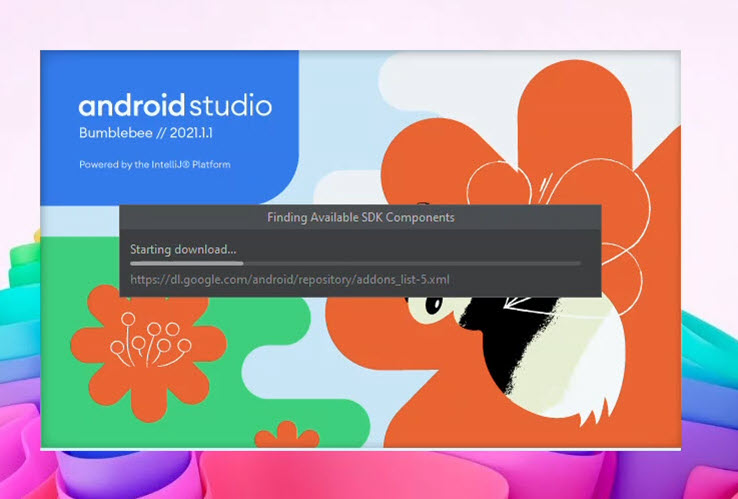
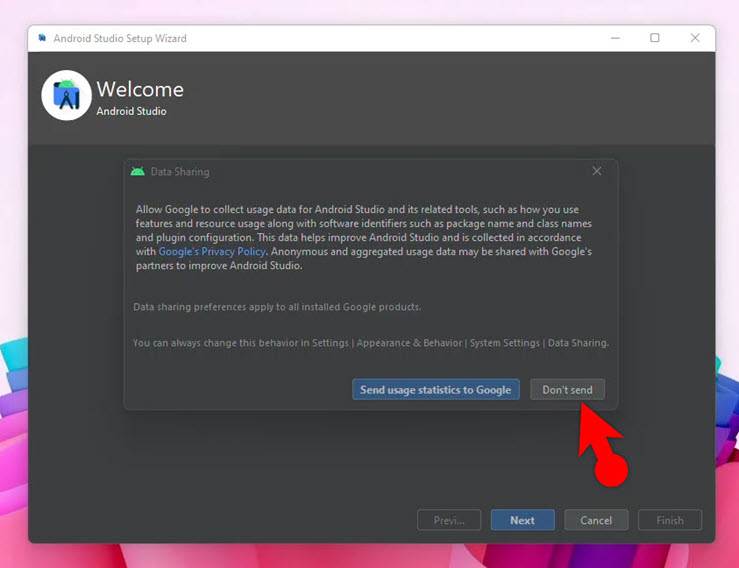
To begin the next phase, after installation launch the Android studio and configure the below settings.
- Choose Do not import settings.
- Wait until the required components of the Android studio should be downloaded.
- If you want to share your data with Google, share it, but I will not do it. So, click on the Don’t send.
- Click Next on the Android Studio Welcome screen.
- Choose Standard Installation type and move on.
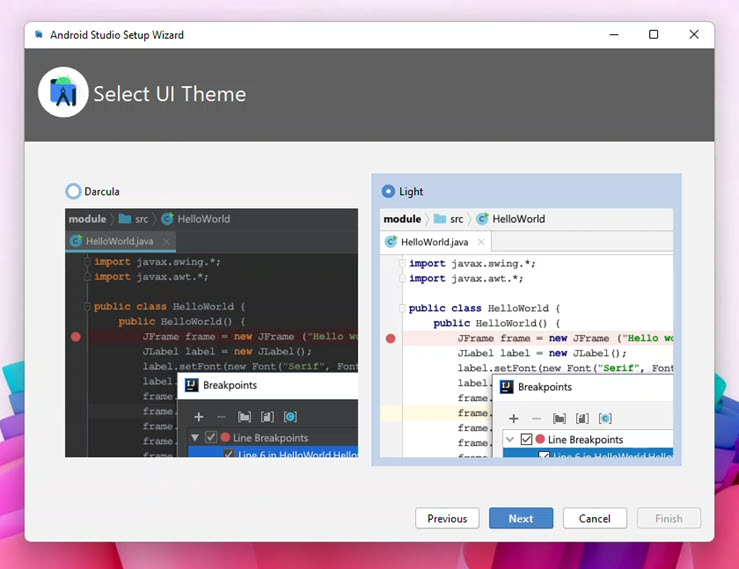
- Choose your Look for the Android Studio (Light mode or Dark Mode).


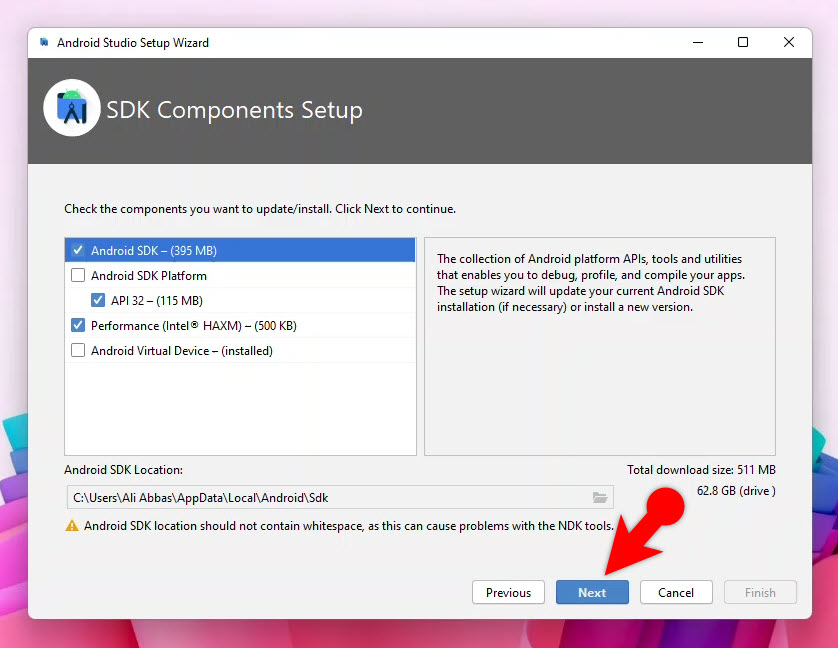
It is a very important step, you must have a very fast Internet connection, and make sure that the below components are selected. Because this is the step that Android studio is going to download the very important components of it from the cloud.
- Android SDK
- Android SDK Platform
- API 32- (115 MB)
- Performance (Intel HAXM)- (500 KB)
- Android Virtual Device- (Installed)
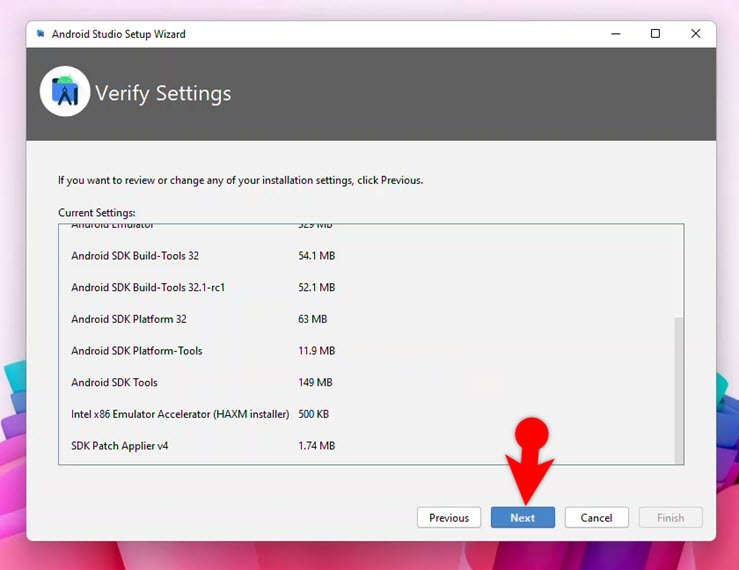
Before starting downloading the components of the SDK, Android studio is asking you to verify the settings. Settings such as location to save the components, downloading the components and other stuff, you can review them.
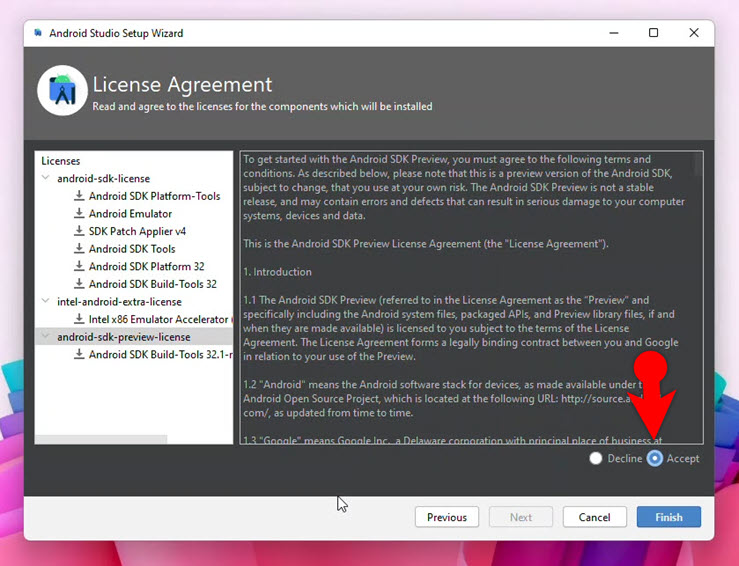
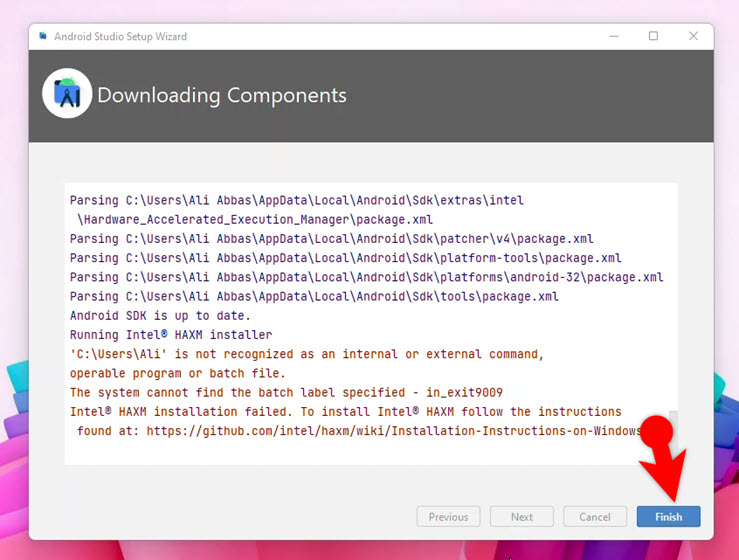
Agree to the License Agreement of all the components and click Finish.
After downloading the required files, click finish.
Create a Virtual Machine for Android 13 in Windows
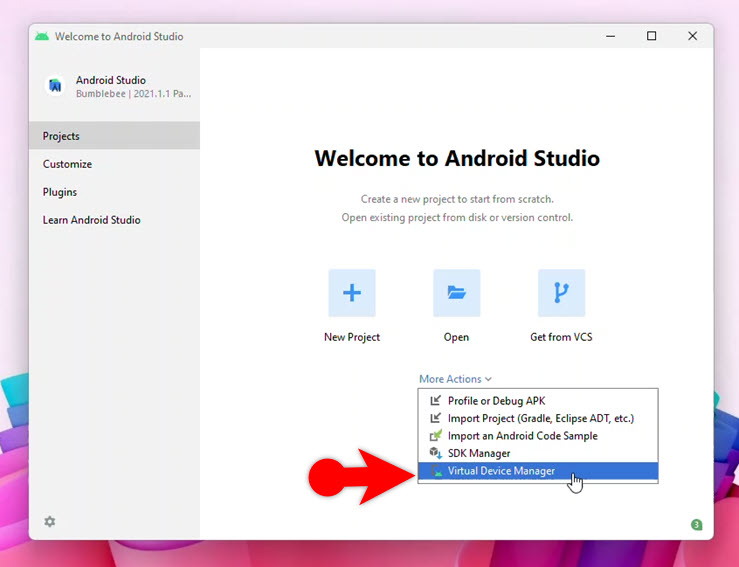
Let’s go ahead and start creating a virtual machine for Android 13 in windows 11. In order to create a virtual machine for Android 13 in windows 11, we have to launch the Android virtual device. Click on more actions and at the end choose launch virtual device manager.
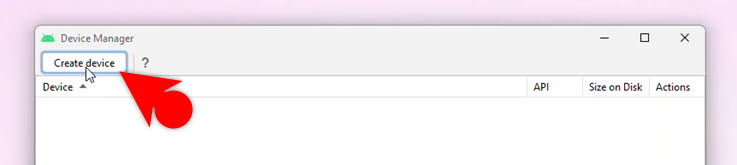
For creating an Android Virtual machine, you need to also select a device where it will be running Android, to do it select on create a device.
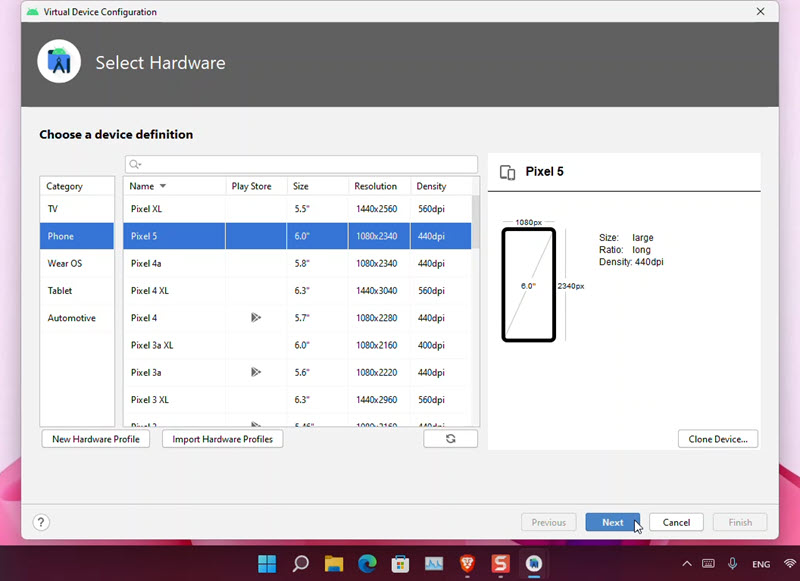
Select a hardware which is compatible to run the Android 13 in windows 11, in my case I will be using the pixel 5.
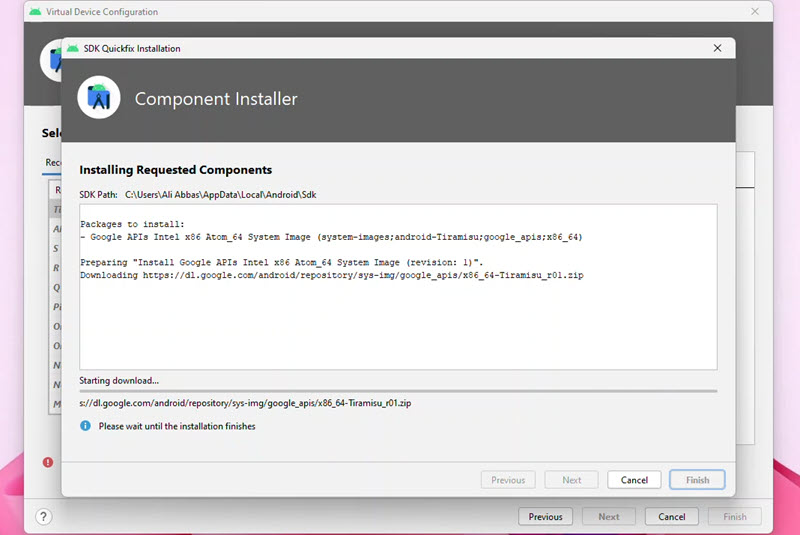
After selecting pixel five as your hardware, assistant image is also required. So you can use any Android that you are interested, but since I am trying to install Android 13, click on Android Tiramisu and download it.
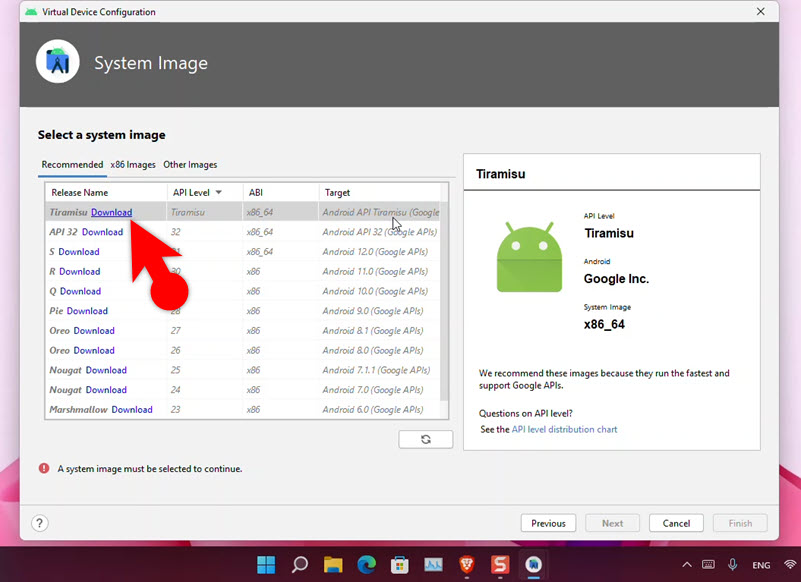
Wait until the Android 13’s image should be downloaded. Once the downloading of the image is done, click finish.
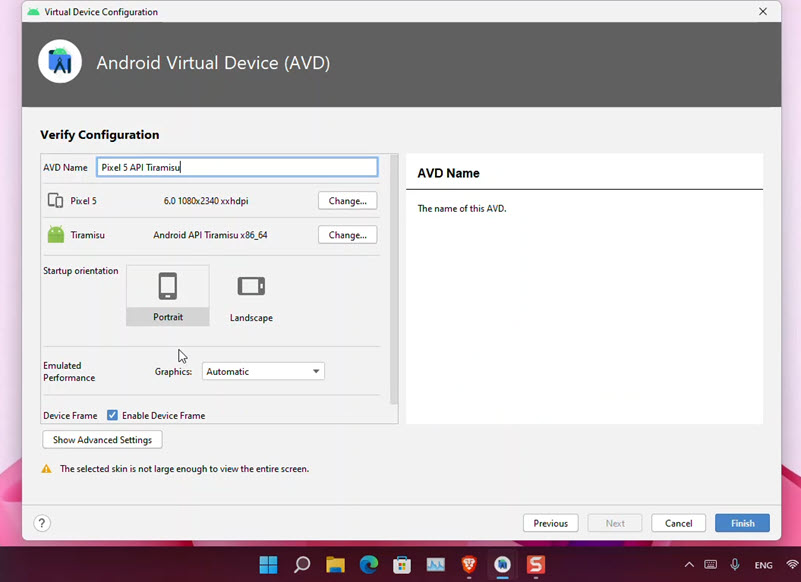
Anyway; it’s time for you to configure the settings of the Android virtual device. You can give it a name, change the aspect ratio and also configure the orientation.
To start Running Android 13 in Windows 11, click on the play icon and wait for it.

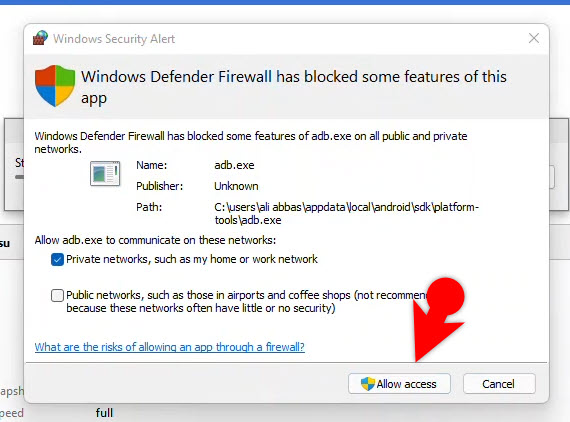
Once the Android 13’s virtual machine has launched, Windows Defender will ask whether you want to allow it or no, simply allow it and let it boot normally.
Good luck and Enjoy using Android 13 in Windows 11 PC.

Also Read:
- How to Install Android 12 on PC? (Windows 11, macOS Monterey)
- Easily Activate Flash Notification on Samsung One UI 4.0 (Android 12)
- How to Activate SIM card lock in Android? (SIM Card Lock)