How to Fix This virtual machine requires AVX2 but AVX is not present?

There is a slight difference between the intel and AMD processors in the Hardware compatibility. That slight differs casues many errors for installing macOS 10.x on VMware or VirtualBox. On Intel Processors the Hardware acceleration 90% disabled by default but in AMD processors it is against that. You can enable or disable the Hardware acceleration from BIOS, both on AMD and Intel Processors.
If the Intel VT-x is enabled skip this step, if not follow the instructions to enable it.
How to Enable Intel VT-x On Your Computer’s UEFI Firmware?
Method Number 1: Enable VT-x using the BIOS
Enabling the Virtualization technology is not a bizarre thing that many user fear, and saying my pc can not support mac. it is the simplest thing you could ever do as long as you know the BIOS of your Computer.
Reststart your computer and hit the BIOS key of your computer, since every computer’s BIOS key different. It is hard to say which button is a specific BIOS Key, so you have to search it your self and find out the BIOS key of your computer.
The moment the BIOS is reached find the Virtualization technology or Intel VT-x, >then enable it.
Methods Number 2: Incase you couldn’t access the BIOS follow the below instructions.
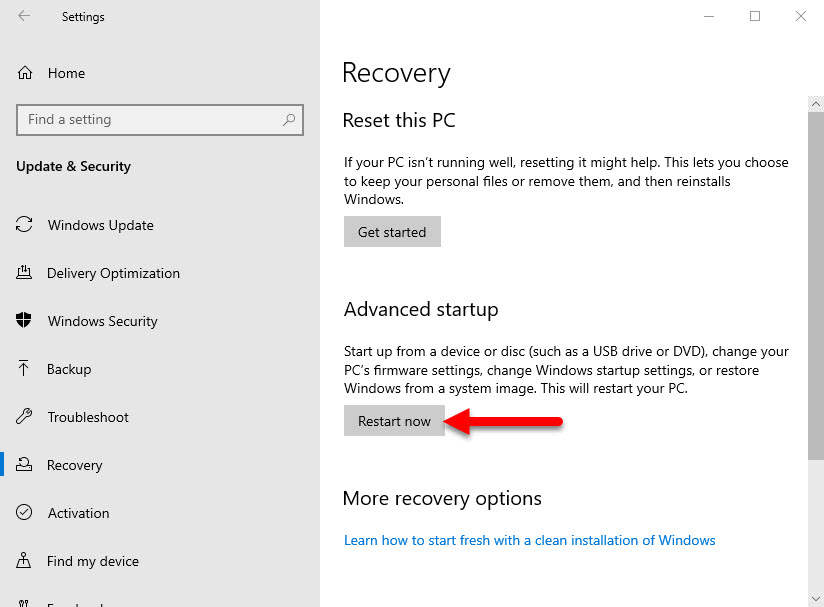
To enable the Intel VT-x, you have to visit your computer’s UEFI Firmware from Recovery tab on the settings, In simple words, Windows Settings> Head over to Update and security> recovery and advanced startup.
After the system restarted, select troubleshot> then select the advanced options.
Select UEFI Firmware Settings> after that select restart.
Once you reached the BIOS of your computer using the Firmware> find their the Intel VT-x, or it is also called the Virtualization technology, enable it and save changes.
If the Virtual technology is enabled again you facing the problem, you have to follow the below instructions. It is a little bit long but it will fix the error you are facing.
Step 1. Change the VMWare Player /Workstation Pro compatibility version to 10.x
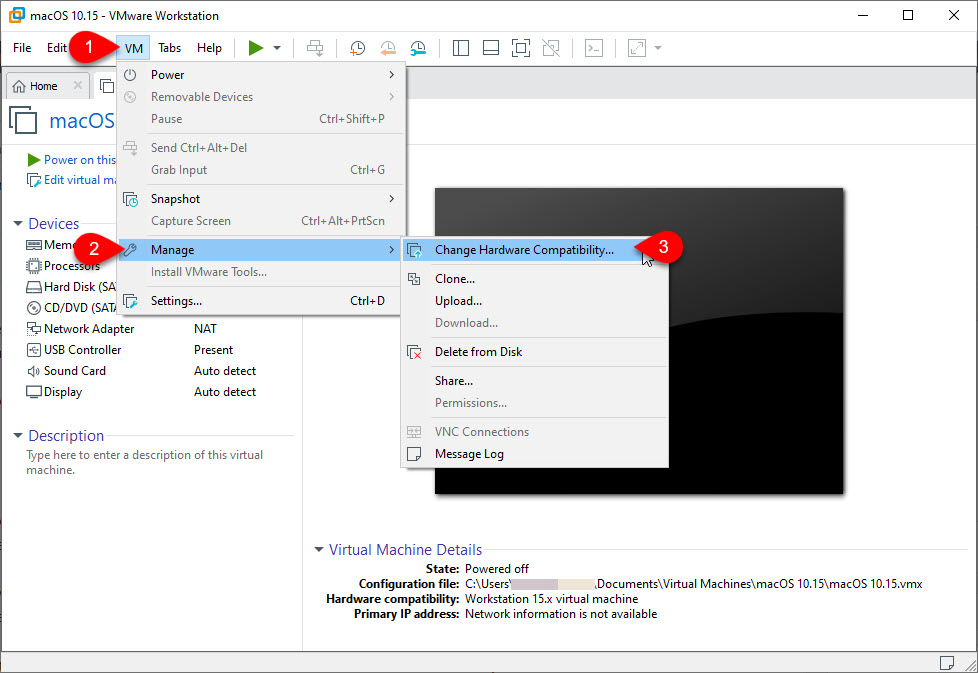
Turn on the VM, which contains the macOS 10.x in it,> then head over to the VM Menu> Manage> change hardware compatibility.
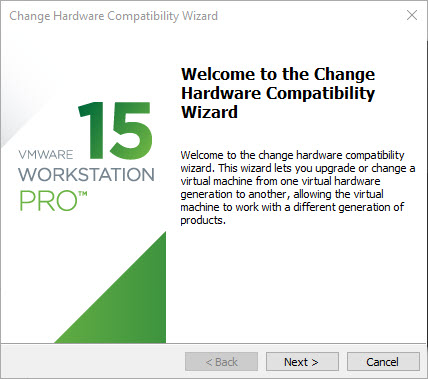
Changing hardware compatibility requires a little time, so to accomplish it you have to click next.
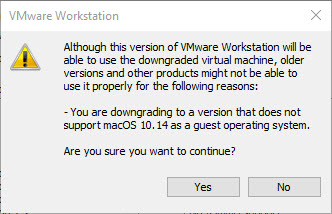
Change the Version from 15.x to the 10.x and click next.

Here, the VMware warns, that some of the features from the VMware Workstation will be removed. You have to ignore it by selecting continue.
The VMware Hardware compatibility gives you two options to change it.
- A clone
- Altr
The clone will simply take a copy of the original VM and it won’t alter any changes to it but Alter doesn’t care about the original and brings it changes no matter what.
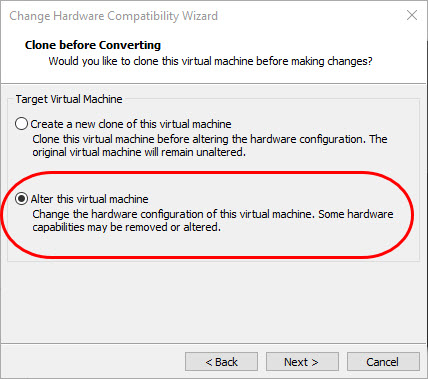
If you choose the clone option, the next step will be a specific new window but the Alter option will be telling you the summarize of settings.
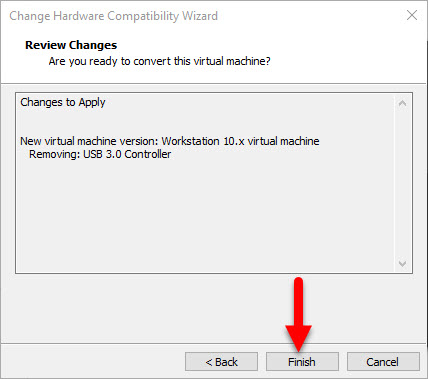
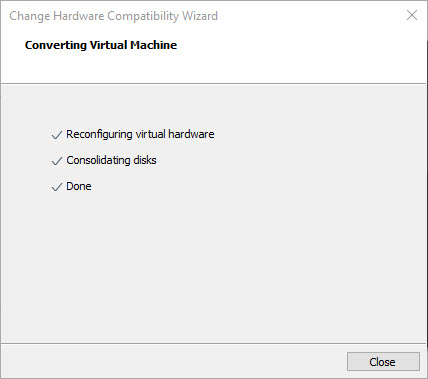
Once the conversation is done, close the window and move to the next step.
Step 2. Add the Config key for Virtual Machine (Only for AMD)
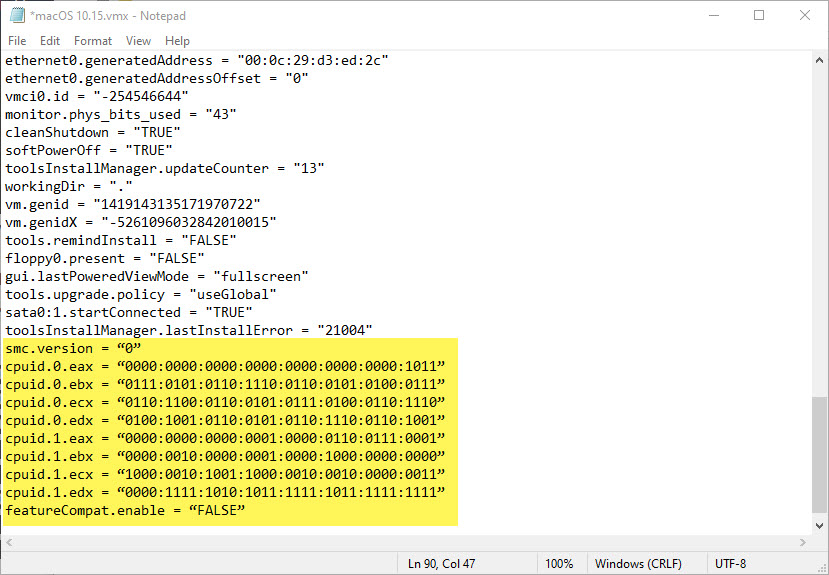
Head over to the location where the VM is saved, find the File which has the extension of VMX, right-click and open it with Notepad.
Scroll down to the end copy and paste the below codes their.
smc.version = “0”
cpuid.0.eax = “0000:0000:0000:0000:0000:0000:0000:1011”
cpuid.0.ebx = “0111:0101:0110:1110:0110:0101:0100:0111”
cpuid.0.ecx = “0110:1100:0110:0101:0111:0100:0110:1110”
cpuid.0.edx = “0100:1001:0110:0101:0110:1110:0110:1001”
cpuid.1.eax = “0000:0000:0000:0001:0000:0110:0111:0001”
cpuid.1.ebx = “0000:0010:0000:0001:0000:1000:0000:0000”
cpuid.1.ecx = “1000:0010:1001:1000:0010:0010:0000:0011”
cpuid.1.edx = “0000:1111:1010:1011:1111:1011:1111:1111”
featureCompat.enable = “FALSE”
Step 3. Change the VMWare Workstation Service to Automatic- Delayed
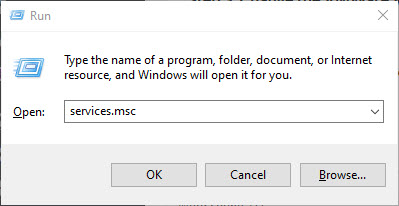
Since it is a service specifically built for Vmware Player and VMware Workstation pro, you must set it to Automatic-Delayed. To do that, Open run dialog box and search services.msc.
Find there the VMware Workstation Server> right click and open its property. Change the startup type from remote to automatic.

That was the last step, now you are ready for installing macOS 10.x on VMware.
Comments are closed.